
Tyre and Wheel Tutorial: Handle UHP and Run-flat Tyres with Ease
In this Equipment Focus article, we take an in-depth look at the optimal procedure for mounting UHP and Run-flat tyres.
Ultra-high Performance and Run-flat tyres have become increasingly popular, offering superior performance, enhanced safety, and improved handling. However, their unique design and construction also present specific challenges when mounting.
If you work on these tyres frequently, you'll know they can be challenging. So we've put together a step-by-step tutorial on mounting UHP and Run-flat tyres to help you make the process quick, simple and as efficient as possible.
Step-by-step instructions for mounting UHP and Run-flat Tyres
Properly handling these tyres is essential not only for ensuring optimal performance and safety but also for maintaining customer satisfaction and minimising costly mistakes. This article will provide a comprehensive guide on the best practices for mounting and removing ultra-high performance and runflats tyres, equipping you with the knowledge and techniques needed to excel in this critical aspect of modern vehicle maintenance.
Preparation: Ensure your work area is clean and well-lit. Gather all necessary tools and personal protective equipment including gloves and eye protection. Inspect the tyre and wheel for any damage or defects, this preliminary step is crucial for safety and efficiency.
When mounting UHP and run-flat tyres, make sure:
- To avoid tension and stress in the tyre beads as much as possible
- Avoid compression or distortion of the tyre when applying the removal / mounting tools
- Apply a liberal quantity of lubricant to the tyre, rim and tooling. Ensure you are using an approved tyre lubricant only.
- The tyre has a minimum mounting temperature of at least 15 degrees Celsius in the bead core. The recommended temperature is 23 degrees Celsius.
- Observe the rotation direction of the tyre, if required. Some tyres have a coloured dot that must be positioned outside of the wheel.
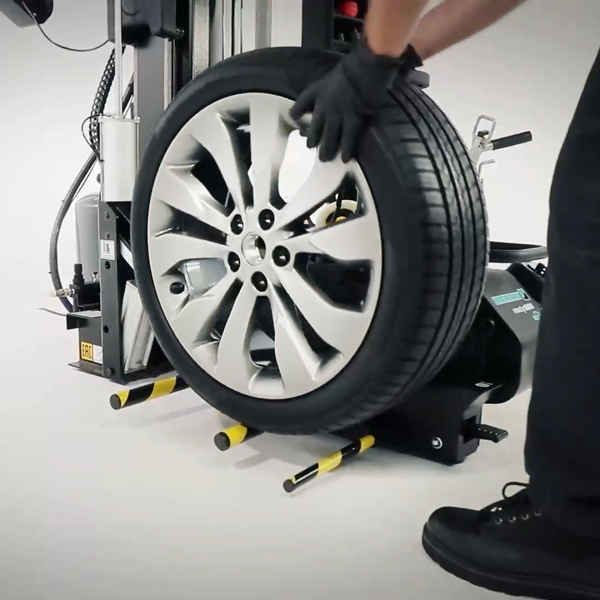
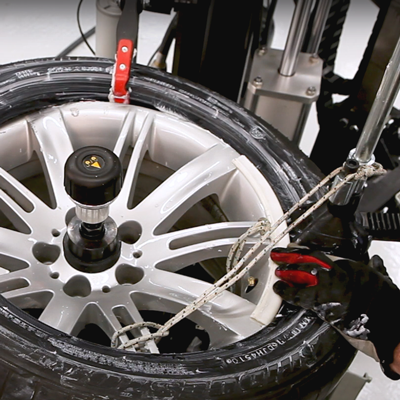
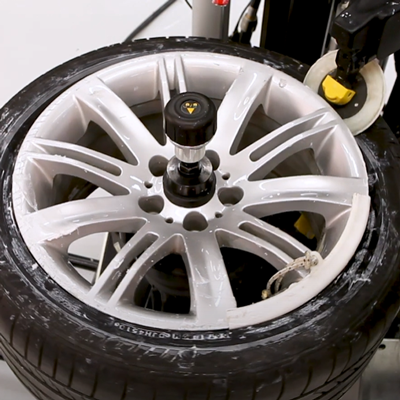
1. Clamp the rim on the clamping flange.
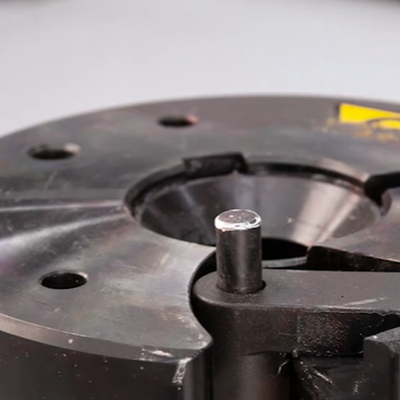
2. Fit the anti-rotation pin into one of the rim stud holes.
3. Use the bead space to check the correct height.
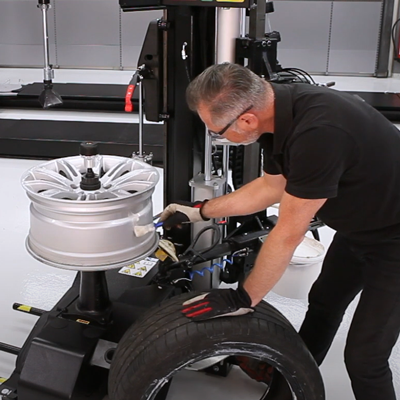
4. Apply a sufficient amount of lubrication to the tyre side walls, beads (inside and out) and wheel rim.

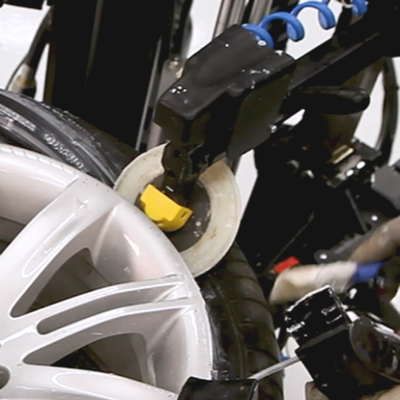
5. Place the tool integrated on the lower bead breaker arm in position on the disc and then apply a liberal amount of lubrication.
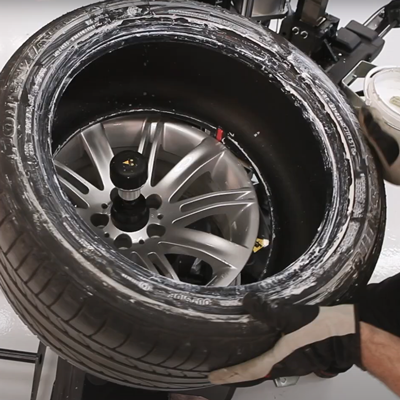
6. Rotate the rim so the valve is at the 8 o’clock position then place the lower bead on the tool and slowly rotate the wheel in a clockwise direction until the lower bead is mounted.

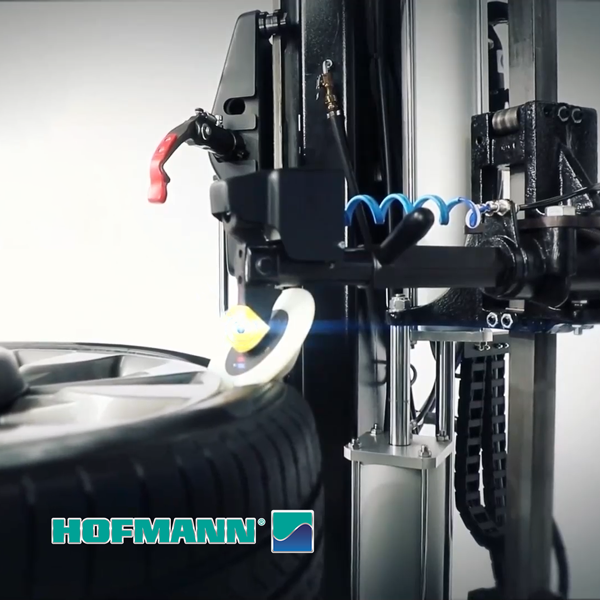
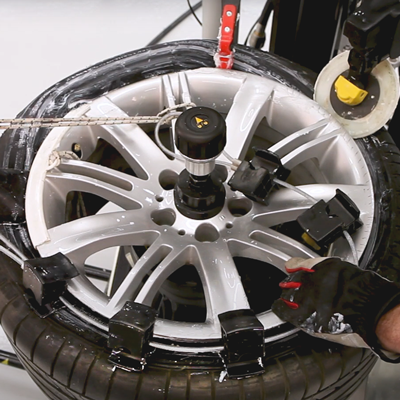
7. Then position the valve at 5 o’clock and then place the plastic rim protector on the rim and apply lubricant to the tyre protector.

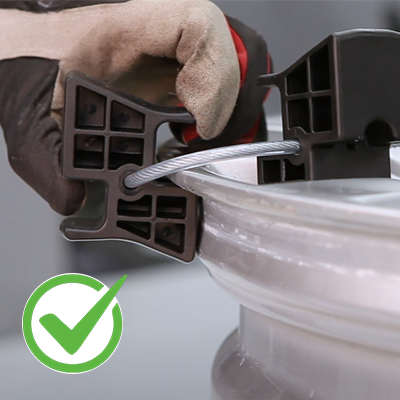
8. Mount the “traction chord” in order to keep the bead presser in place.
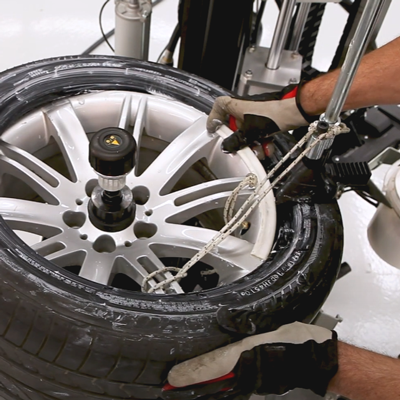
9. Rotate the rim and tyre until the valve is about a hand width behind the bead presser to prevent damage.
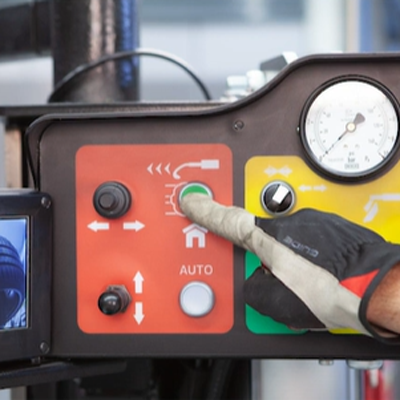
10. Position the mounting tool close to the rim using the green button on the control panel and adjust the height to align between the bean and the rim.

11. Slowly rotate the wheel in a clockwise direction to start the mounting process.
12. Position the bead breaker disc in place to assist in a smooth mounting procedure.

13. Apply the Bead Spacer Tail while rotating the wheel, remember to apply sufficient lubricant to these tools and continue to rotate the wheel in a clockwise direction and lubricate continuously.
14. Continue to rotate the final 90 degrees and gradually release the pressure exerted by the bead press arm in order to relieve the bead as much as possible.
15. Rotate the wheel in an anticlockwise direction and remove the Bead Spacer Tail.
When mounting is complete remove all tools.
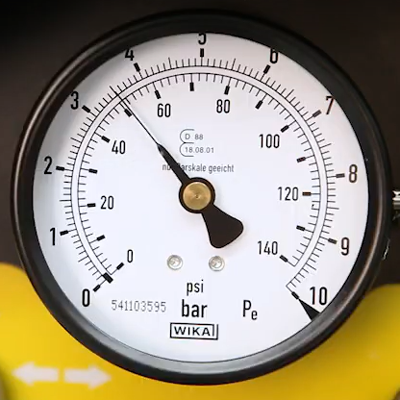
16. Inflate the tyre and check for correct positioning on the rim. From here the mounting procedure is complete.
17: Remove the wheel from the tyre changer and repeat procedure as required.

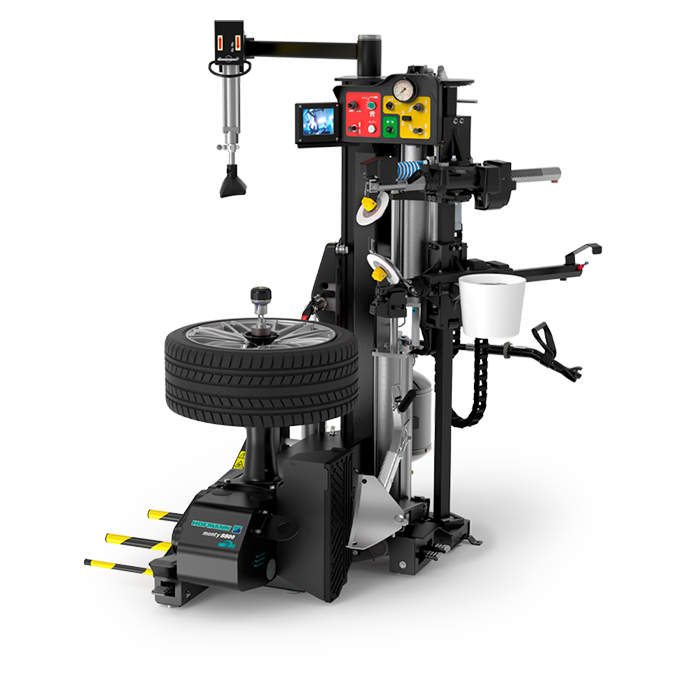
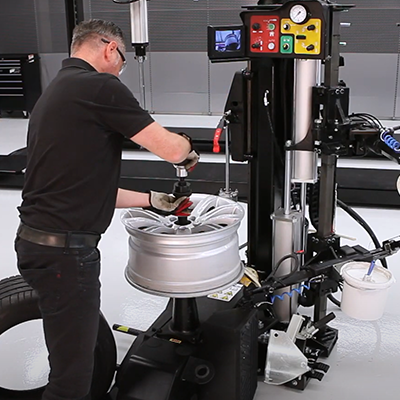
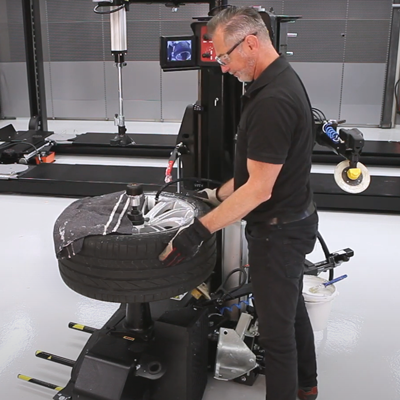
This procedure was carried out using the Hofmann® monty® 8800S SmartSpeed™Tyre Changer
The HOFMANN® monty® 8800S SmartSpeed™ professional tyre changer with innovative leverless mount and removal system is the perfect choice for high-volume tyre centres for handling standard manufacturer, ultra-low profile tyres.
The 8800S offers maximum speed via the built-in SmartSpeed™ inverter technology and features a patented centre-post design for fast, effortless and damage-free wheel clamping.
Speak to your Local Snap-on® Franchisee or Technical Sales Representative for more information
See More Equipment Focus Content
Wheel alignment plays a pivotal role in automotive maintenance and safety. With this in mind, we have put together a guide to help you understand the advantages of wheel alignment checks. Increase productivity and potentially boost revenue, every single day.

Getting the most out of your Air Conditioning Service Equipment. Explore our quick tip guide to get the most out of your Air Conditioning Service Systems and maximise the return on your investment this year!
©2024 Snap-on Incorporated. All rights reserved.