

Wheel Balancing Tech Tips & Tooling
When it comes to maximising the performance of a wheel balancer, understanding the correct steps and tooling is essential.
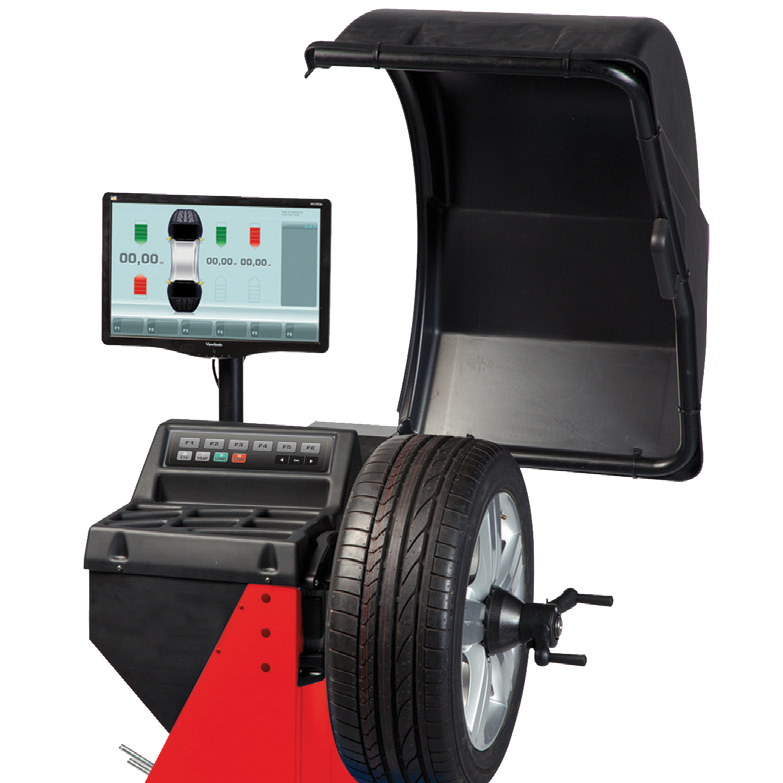
In this month's Equipment Focus, we’ll be using the SUN® SWB200S Wheel Balancer to demonstrate best practices for selecting the right tools, mounting wheels, and achieving precise balancing results.
This quick guide will walk you through the essential steps to efficiently balance wheels, from choosing the correct centring rings to utilising innovative features like easyALU™ and SMARTSONAR™.
Whether you’re balancing standard steel wheels or custom alloys, following these tips will help ensure accurate results every time.
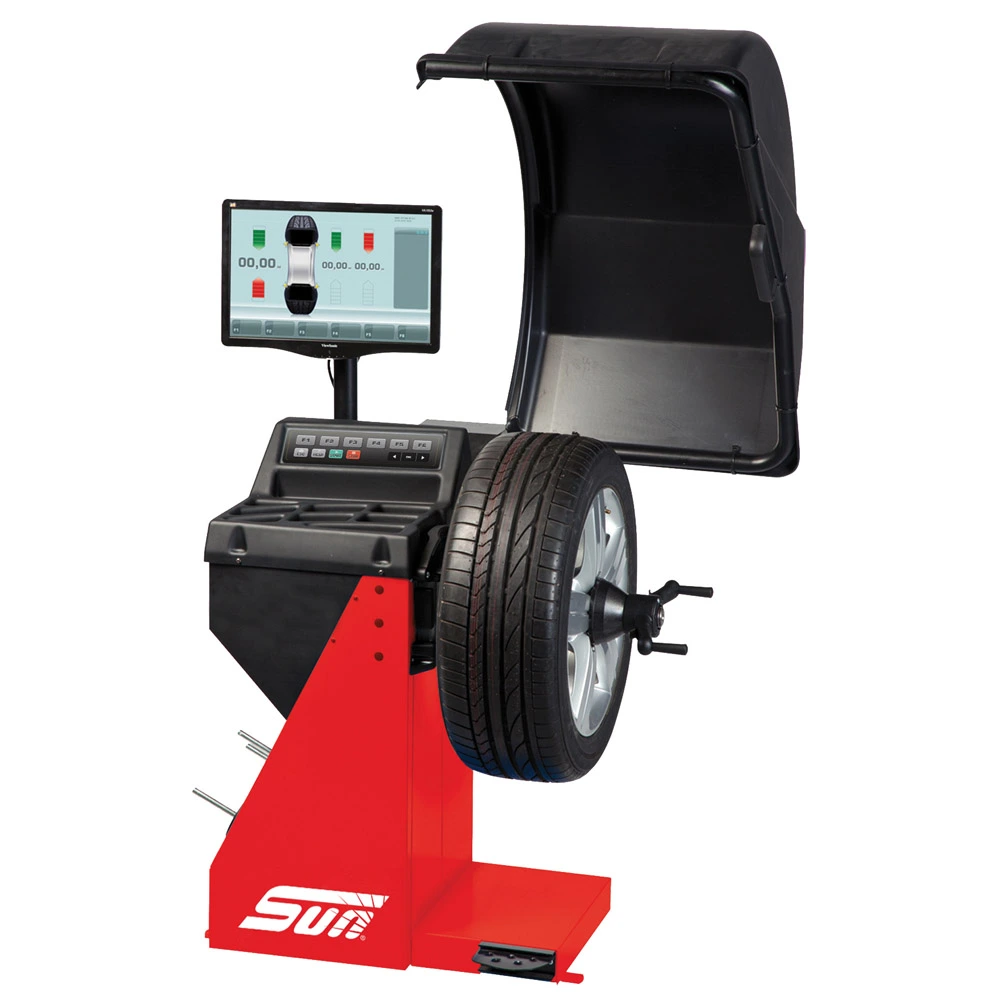
SUN® SWB200S Wheel Balancer
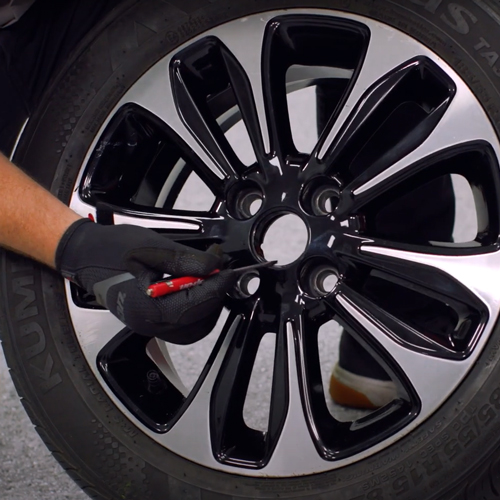
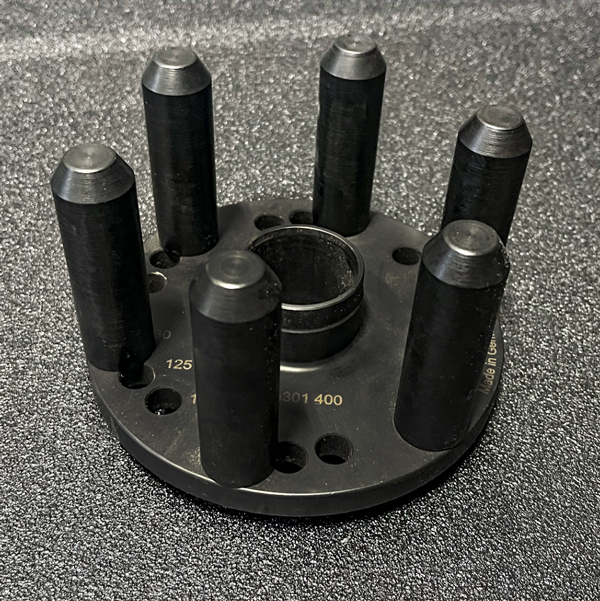
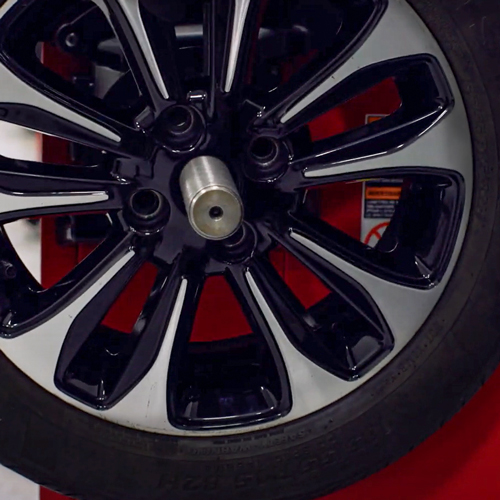
Step 1: Select the Wheel and Tooling
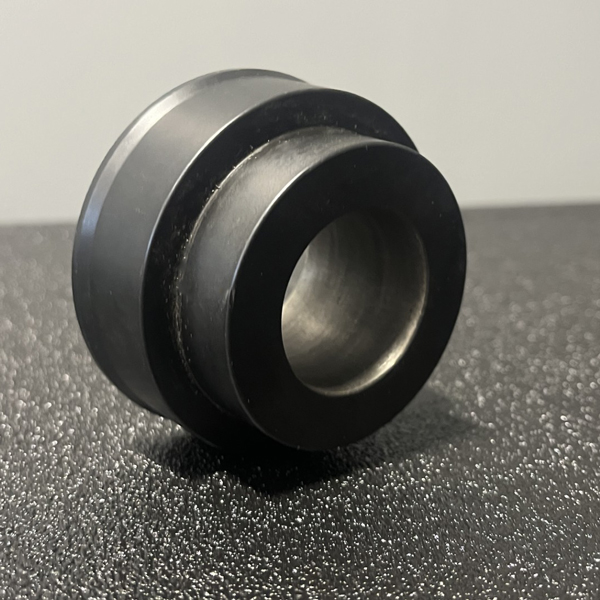
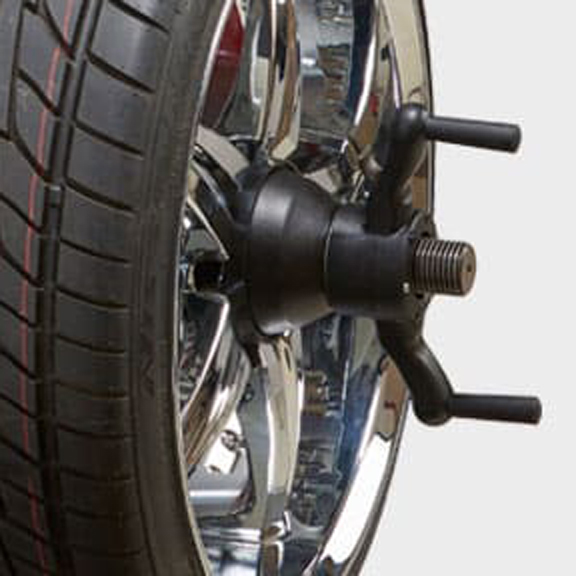
Choose the correct tooling for the wheel, such as an OE small passenger car wheel assembly. Ensure you use the correct centering ring to avoid damaging the machined lip on the wheel where the center-cap is located. The centering ring should penetrate slightly but not too deeply ensuring contact with the machined edge that bears the load of the wheel assembly

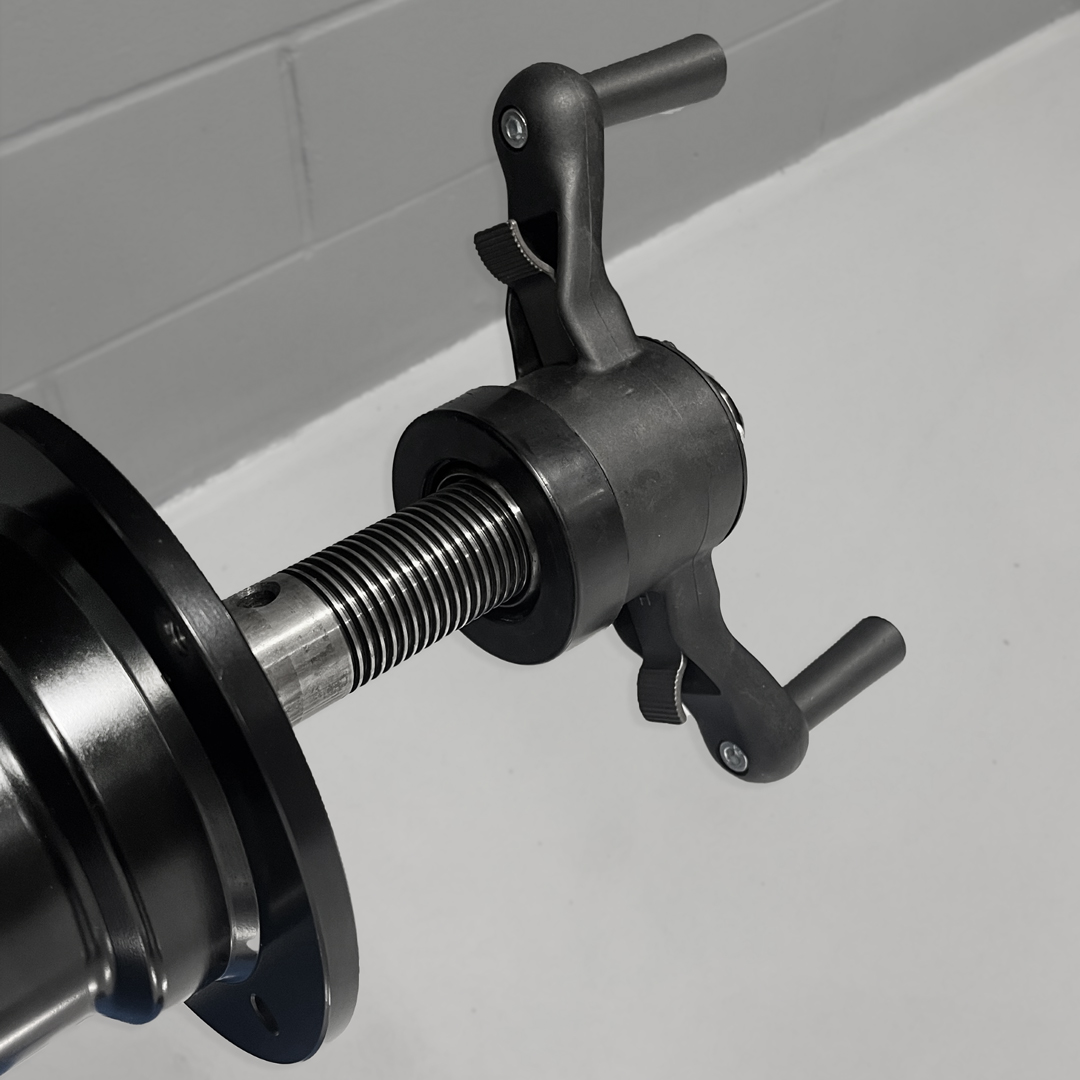
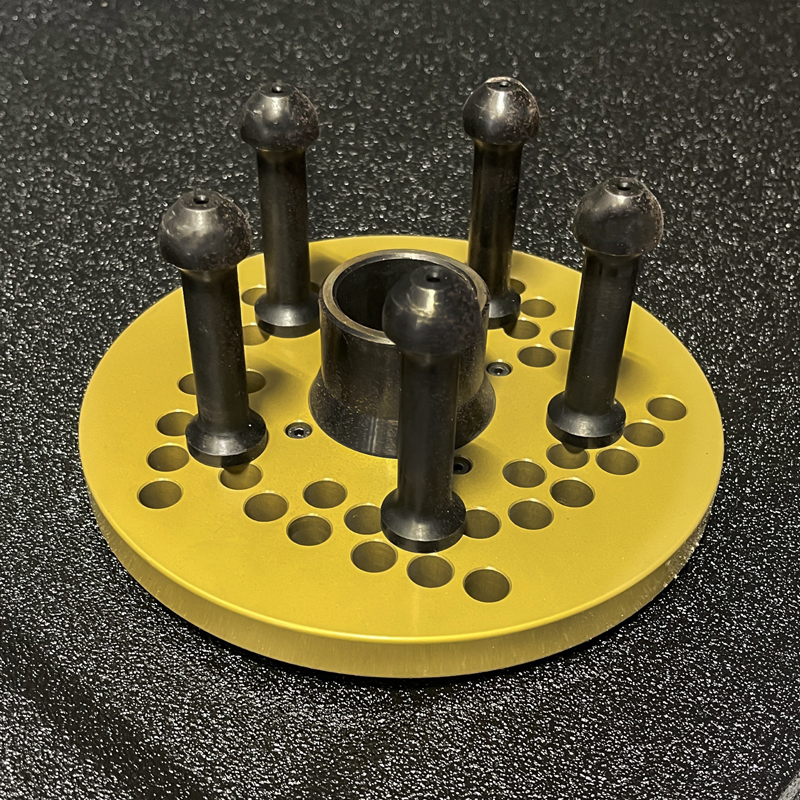
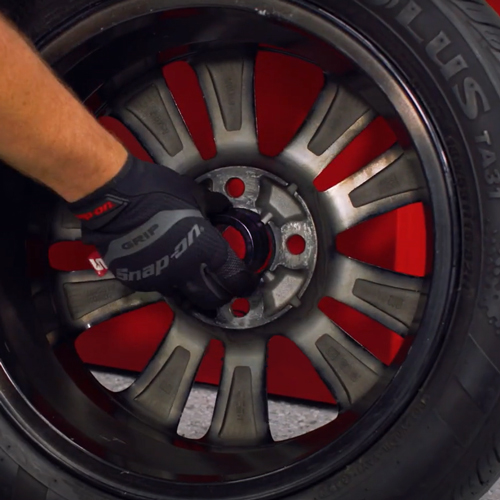
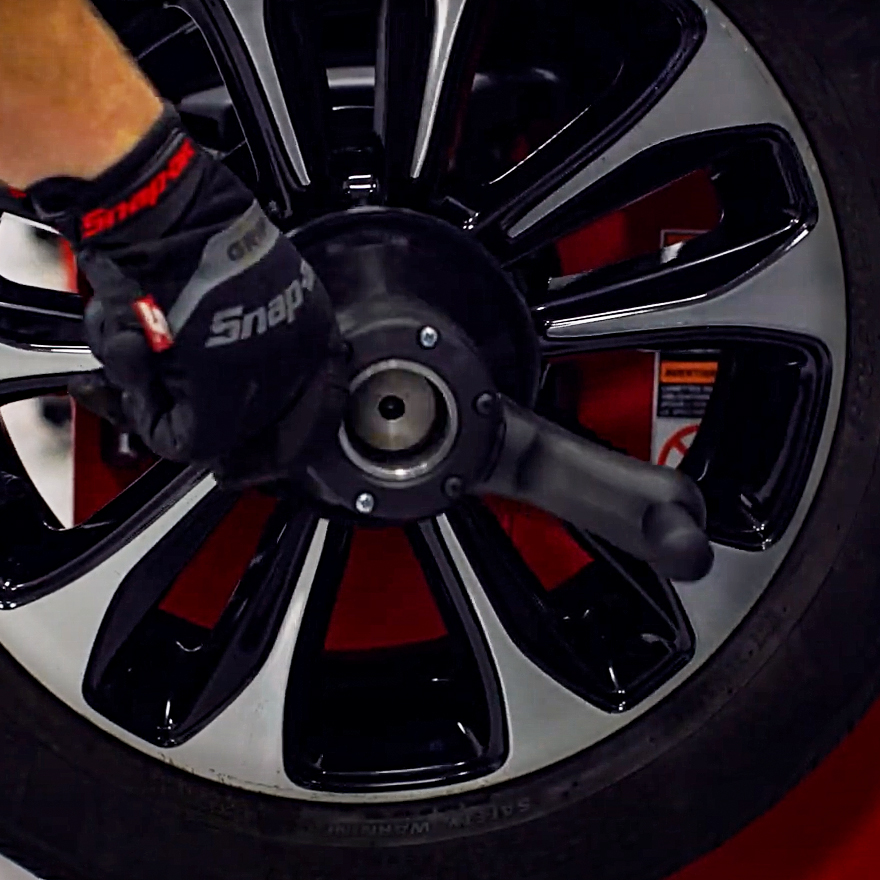
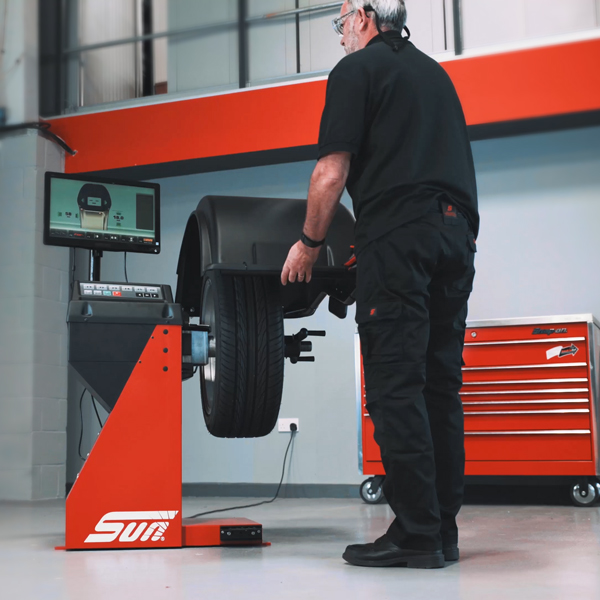
Step 2: Mount the Wheel
Mount the wheel to the balancer using either a pin plate or a pressure cup. For painted or alloy wheels, always use a protection ring. For steel wheels, no protection is necessary.
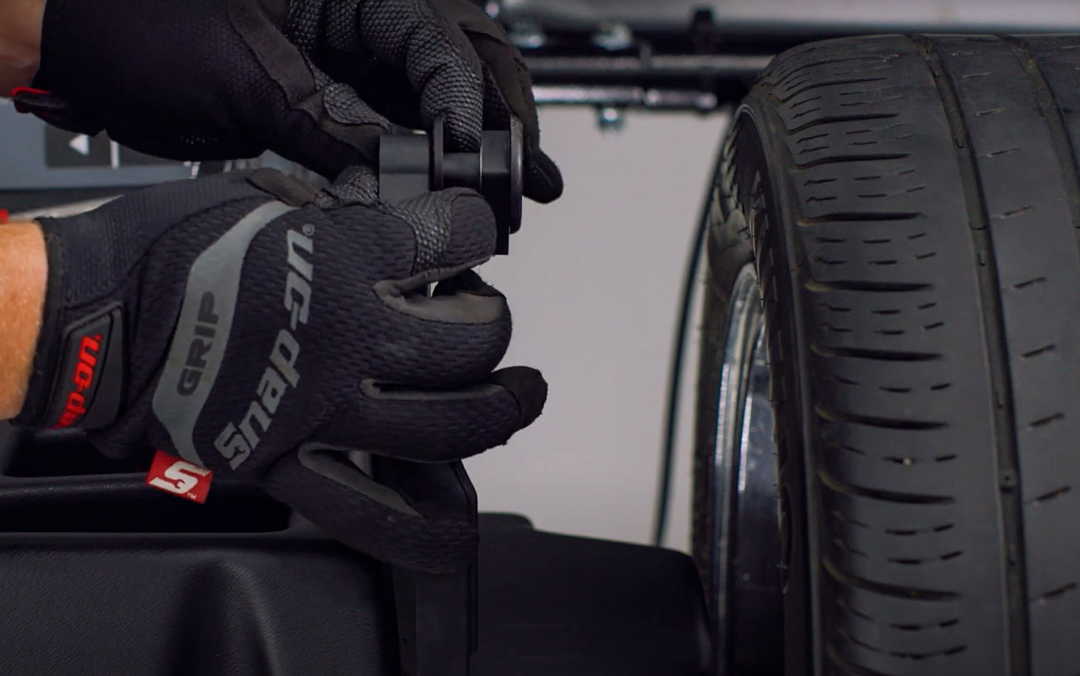
Next select the appropriate centering ring for the wheel and check for correct sizing prior to mounting the wheel on the balancer.

Next mount the wheel on the balancer shaft first inserting the centering adapter and then lock in position with the quick nut wheel clamp.
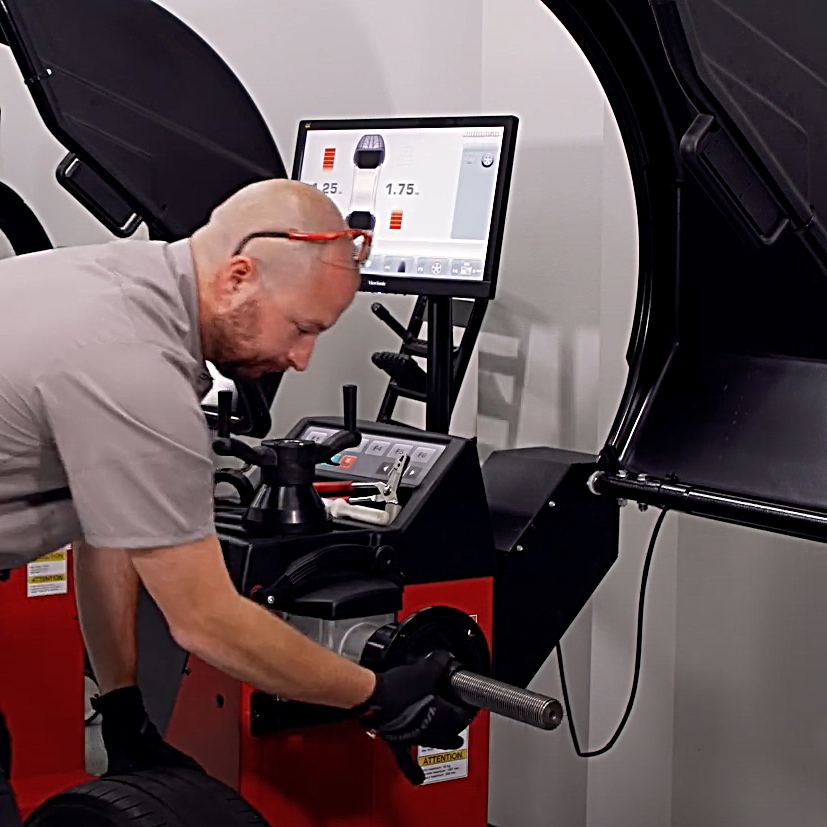
Step 3: Input Wheel Dimensions
Use the hand operated gauge arm with easyALU™to obtain the dimensional points for diameter and distance. Touch the rim with the gauge arm to enter the rim dimensions and automatically select the weight balancing mode.


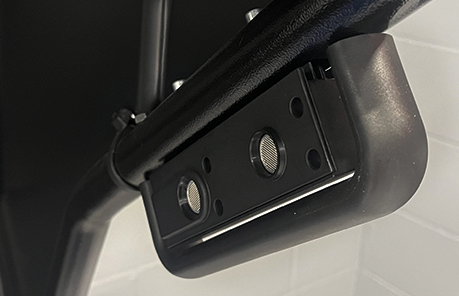
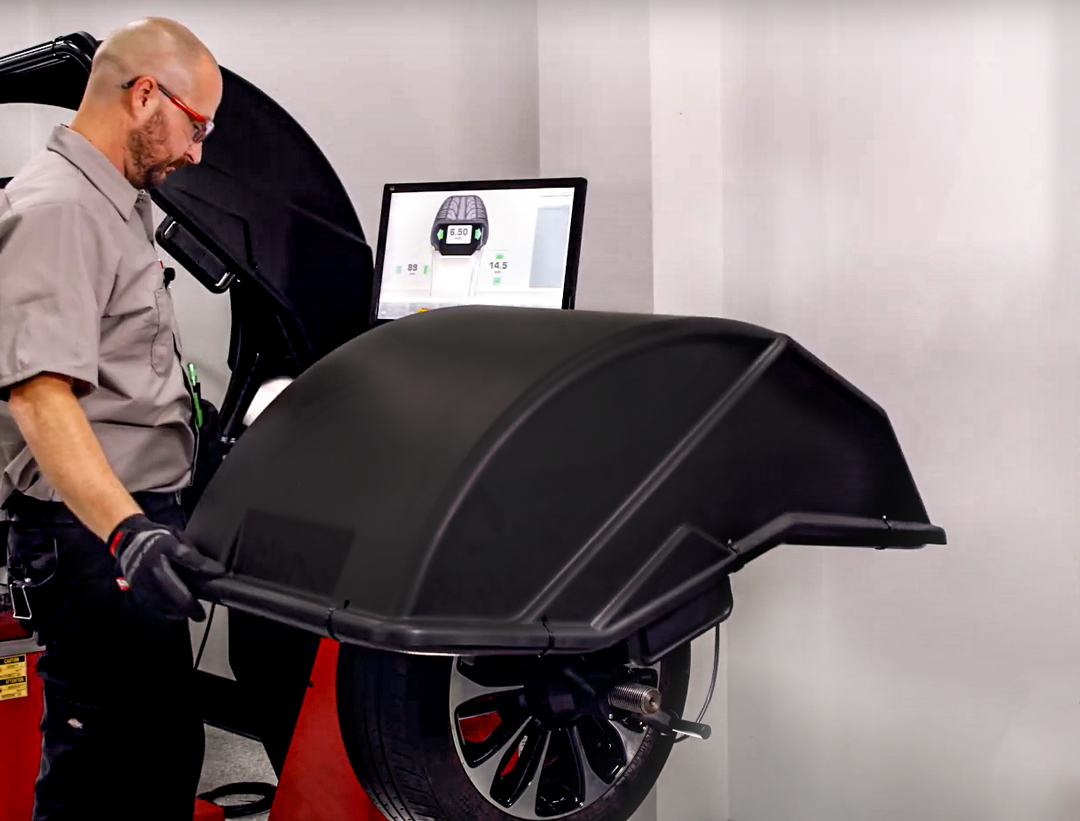
If your balancer is equipped with a SMARTSONAR™, then the rim width will automatically be detected when closing the hood.
If you’re balancer is not equipped with SMARTSONAR™, then the width will the last data point you enter.

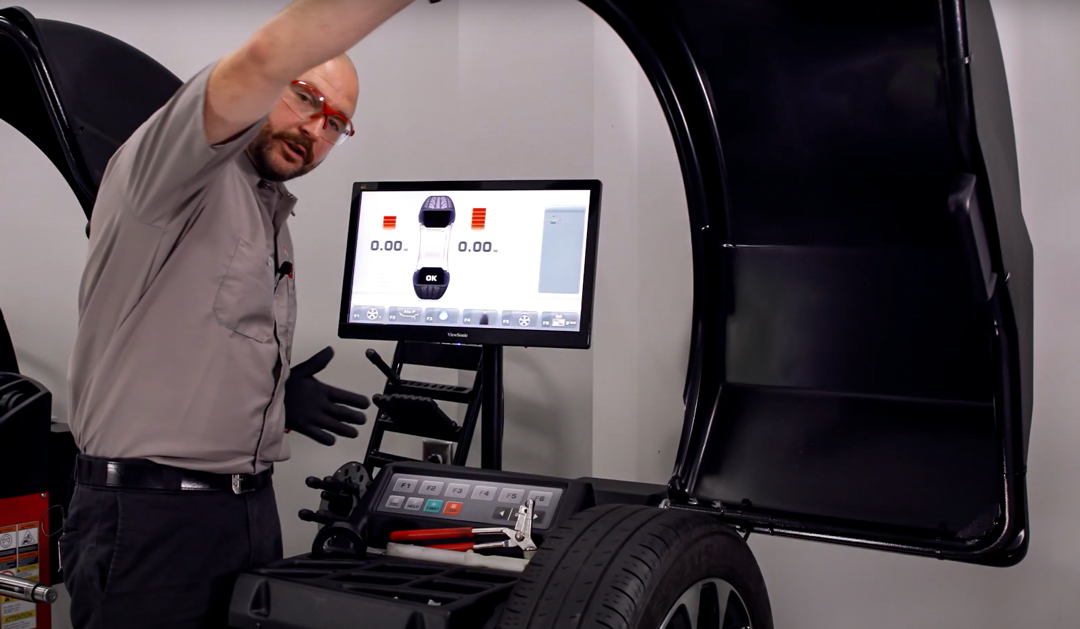
Step 4: Perform a Check Spin
Close the hood and conduct a check spin. If everything appears correct, you’re ready to proceed to step 5.
Step 5: Apply Sticky Weights
Once you've completed the initial spin, you should begin with the inner plane. Rotate the wheel until the inner pane gauge to the left of your screen illuminates green, from here, pull back the spring-loaded collar on the gauge arm and position the adhesive weight into the holder.
Move the gauge arm towards the wheel rim and you will see on the display it begins to count down, stop at the zero-point displayed on the screen, once it beeps, apply the sticky weight using the trigger on the gauge arm.
Repeat the process for the outer plane. Once complete, close the hood and perform a check spin.
Additional Tip: Hidden Weight Mode
Hidden Weight Mode ensures accurate balancing and discreet weight concealment behind spokes, maintaining wheel aesthetic appeal and a clean visual presentation.
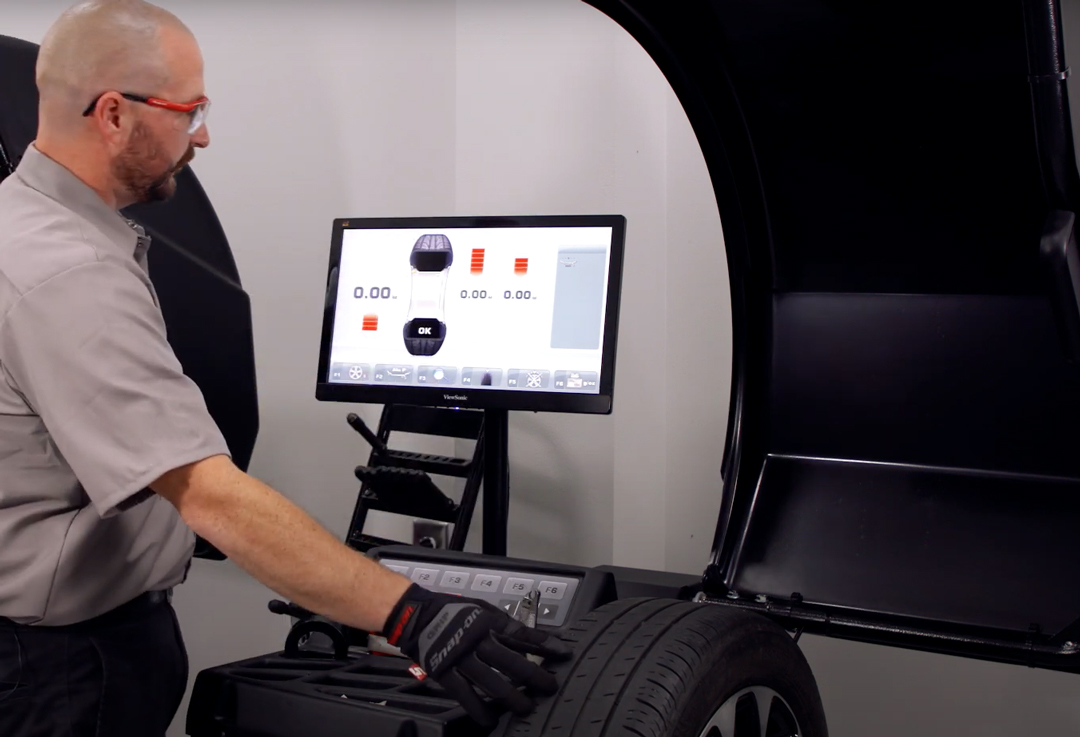
For hidden weight mode, simply enter the number of spokes there are on the wheel with the menu key F1, each time F1 is pressed the number increases (select between 3 and 12) and then position one of the spokes at 12 o'clock.
(Note: It is best to keep the in position using the brake pedal until the selection has been made)
Select F5, to enter Hidden Weight Mode, you’ll see two gauges appear in the top right of the screen instead of one.
Rotate the wheel until the first gauge turns green and apply your weight using the gauge arm (detailed previously), you’ll see a countdown appear as you move the gauge arm towards the wheel rim, placing the weight perfectly behind the spoke.

Need to upgrade or add Equipment to your garage?
Speak to your Local Snap-on® Franchisee or Technical Sales Representative for more information
See More Equipment Focus Content
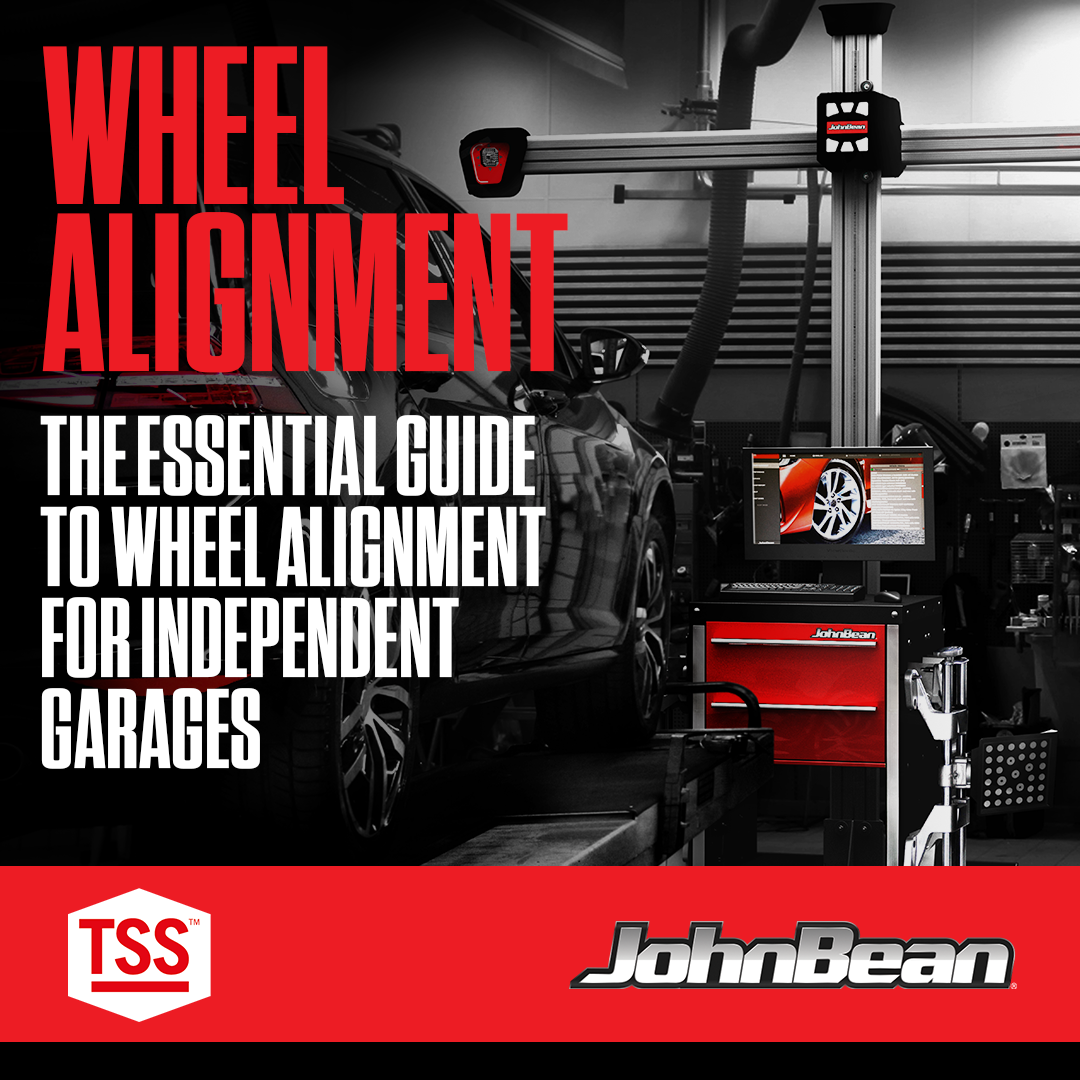
Wheel alignment plays a pivotal role in automotive maintenance and safety. With this in mind, we have put together a guide to help you understand the advantages of wheel alignment checks. Increase productivity and potentially boost revenue, every single day.

Getting the most out of your Air Conditioning Service Equipment. Explore our quick tip guide to get the most out of your Air Conditioning Service Systems and maximise the return on your investment this year!
©2024 Snap-on Incorporated. All rights reserved.