
Quick Tip - How to Use the A-ARM Adjust Feature in John Bean® Wheel Alignment Software
When it comes to vehicle alignment, precision is key, and having the right tools can make all the difference. In this equipment focus feature, we spotlight the John Bean® A-Arm Adjust feature, a crucial component of our alignment software that streamlines the adjustment process.
This feature not only enhances accuracy but also simplifies the task, ensuring that your vehicle’s alignment is set to exact specifications for optimal performance and safety.
Whether you're a seasoned technician or just getting started, understanding how to effectively use the A-Arm Adjust feature is essential for achieving professional results.

The A-Arm Adjust feature in John Bean® Wheel Alignment Software is a powerful tool designed to simplify and enhance the alignment process. This quick guide will walk you through the essential steps to effectively use this feature, ensuring precise alignment adjustments for vehicles you work on every day.
Prepare the Vehicle
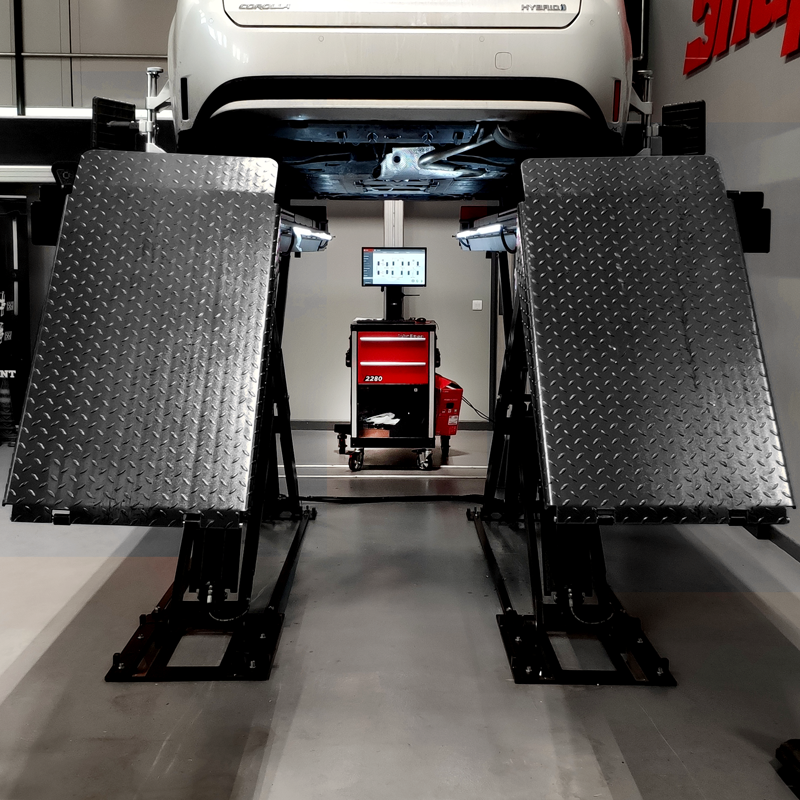
Before diving into the software, position the vehicle on the wheel alignment lift at a comfortable working height to facilitate easy access to the components you’ll be working on, and also ensure to unpin the turntables and rear sliplates.
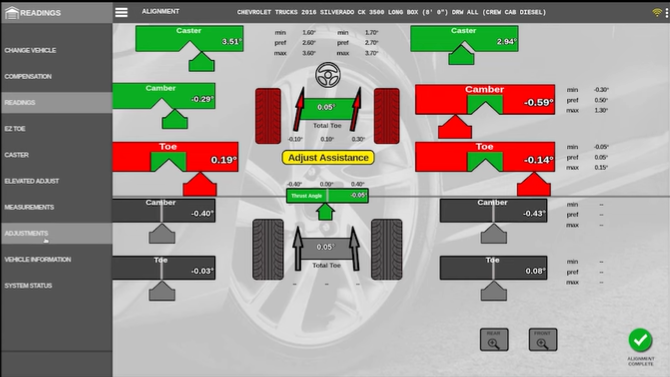
Access the A-Arm Adjust Feature
On your John Bean Aligner software, navigate to the alignment menu, and select “Adjustments,” and then choose A-ARM.
From here, the software will prompt you to:
- Level and lock the steering wheel
- Install the brake pedal depressor
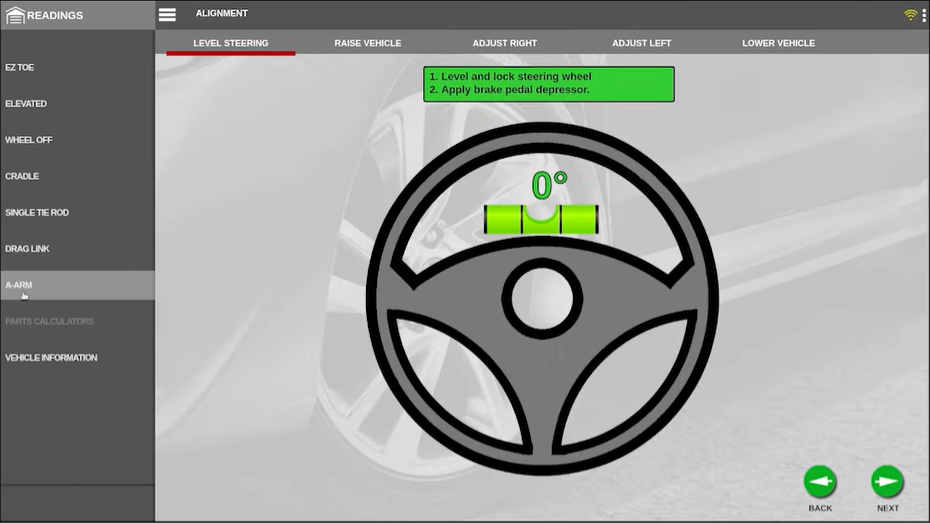
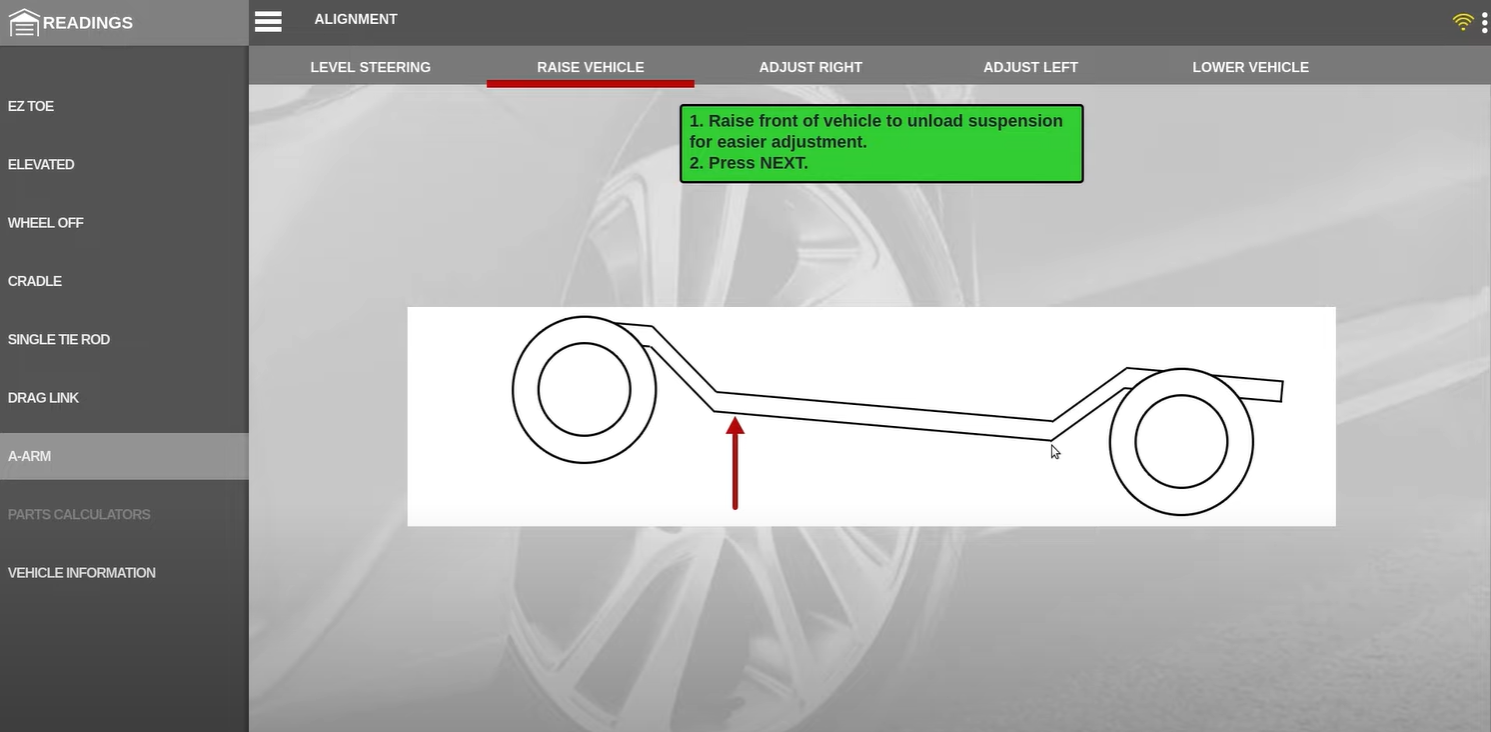
Understanding the Transition Screen
After completing the initial setup, the software will present a transition screen. This screen monitors suspension angle changes, which is particularly helpful if you need to lift the vehicle or unload the suspension to adjust loaded pivot points.
Since these actions aren't necessary in this scenario, we'll skip this step and move on.
Making Adjustments
The software will start on the right side of the vehicle, allowing you to toggle between the upper and lower control arms.
For this vehicle, we're adjusting the upper control arms.
- Loosen the adjuster nut and with a wrench supporting the bolt, on the Eccentric side.
- Following the software gauges, our goal is to get the upper needle to the 12 o’ clock position which represents the ideal specification.
- Make small adjustments gradually, monitoring the screen to see how close you are to the desired spec and the meters are green.
Once you’re there, tighten the adjusters to lock the new position in place
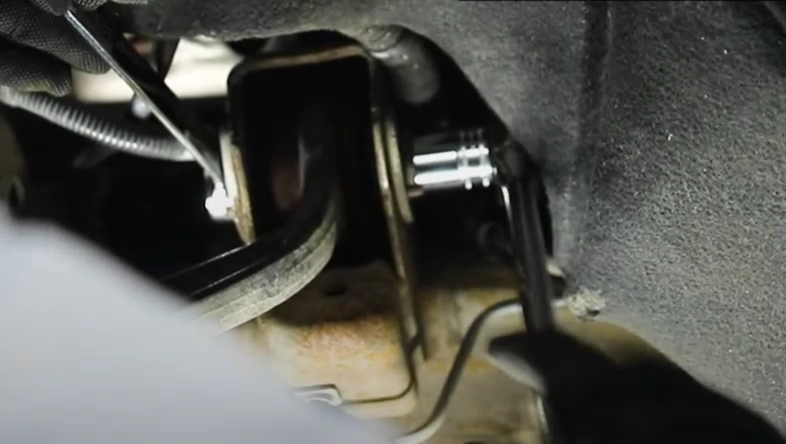
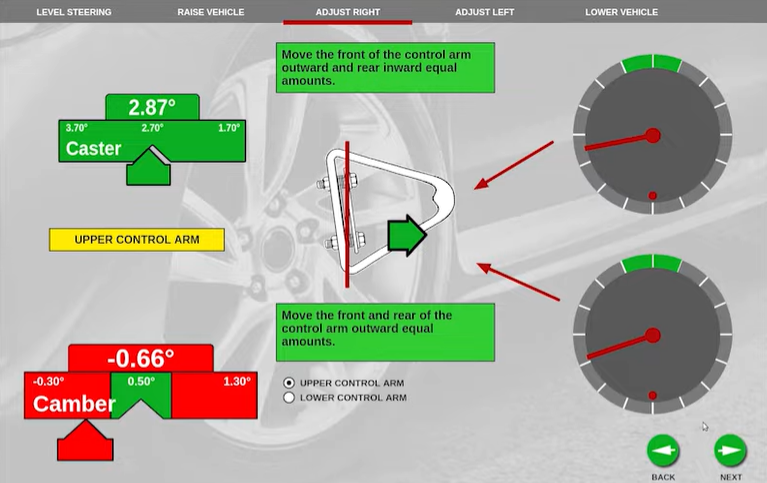
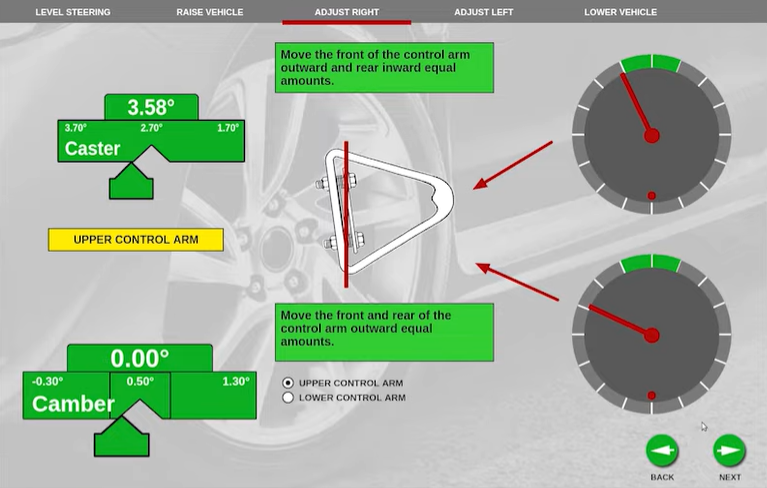
After adjusting the front control arm, repeat the same steps on the rear control arm, ensuring the alignment is consistent before securing the adjuster nut.
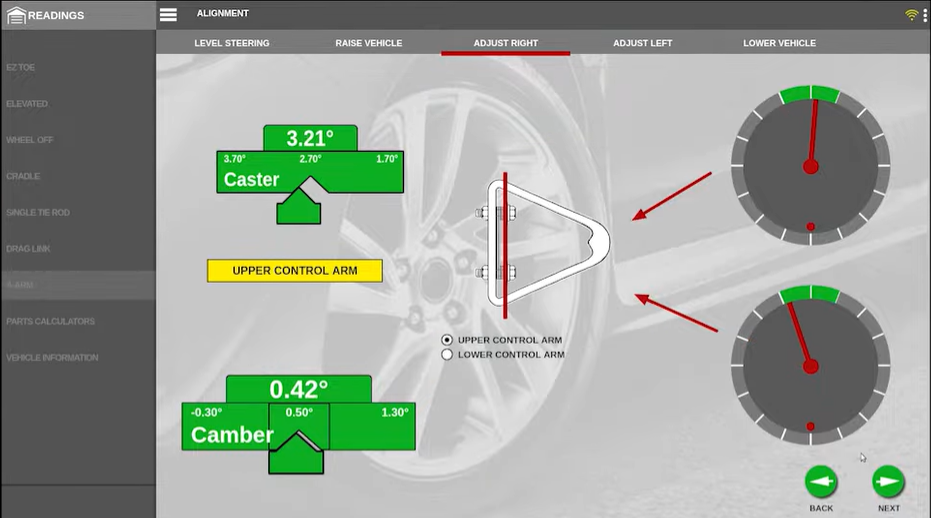
Repeat on the Opposite Side
After successfully adjusting both the front and rear control arms on the right side, move over to the left of the vehicle and repeat the process.
Final checks
Upon completing adjustments on both sides, select "Next" in the software. This will bring you back to another transition screen. If you chose to unload the suspension earlier, this is the point where you would reload it and compress the suspension before continuing. Since we didn’t unload the suspension, we’ll move directly to the final steps.
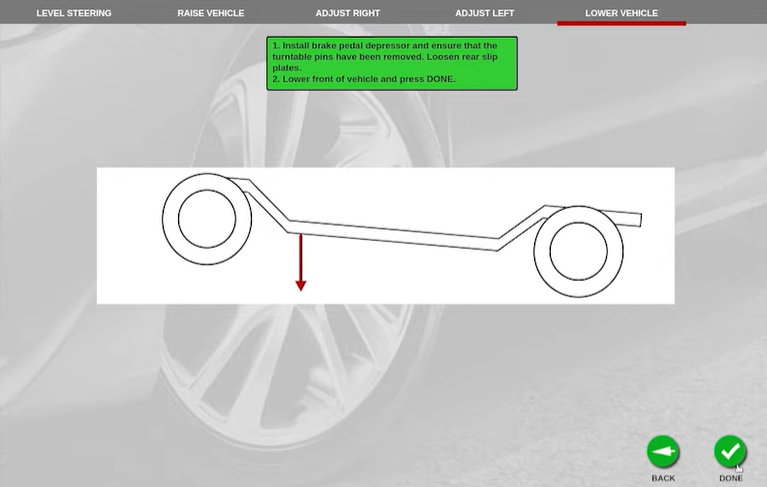
Perform a final toe adjustment
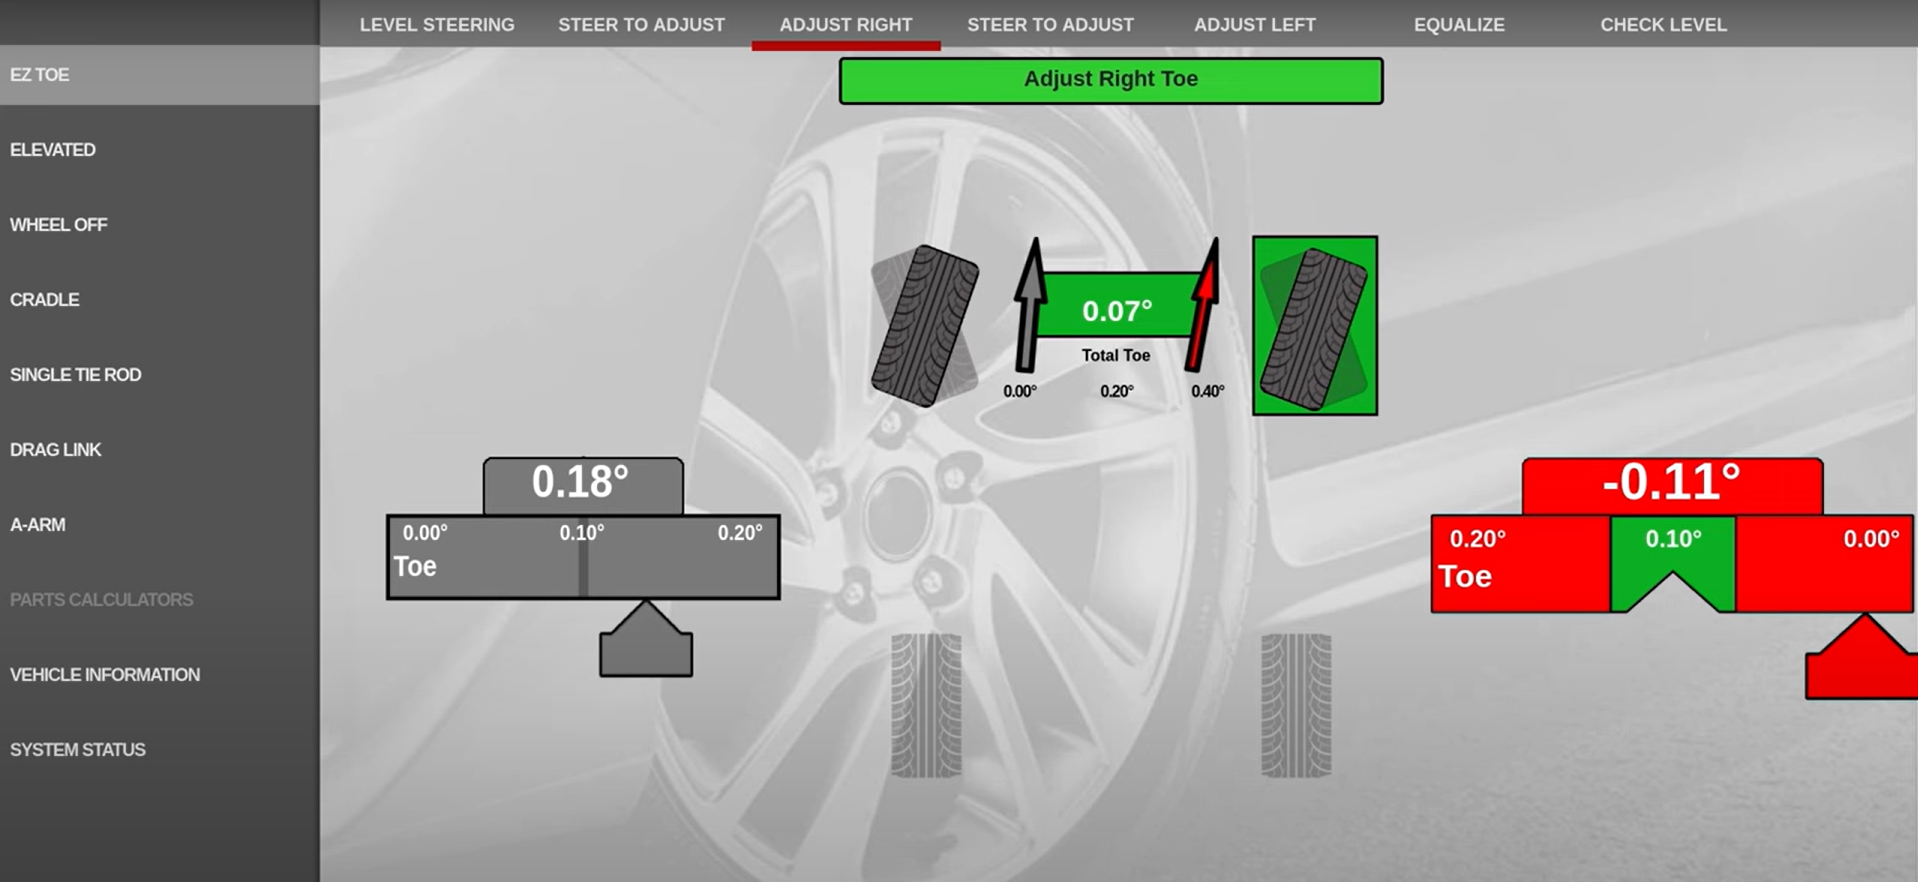
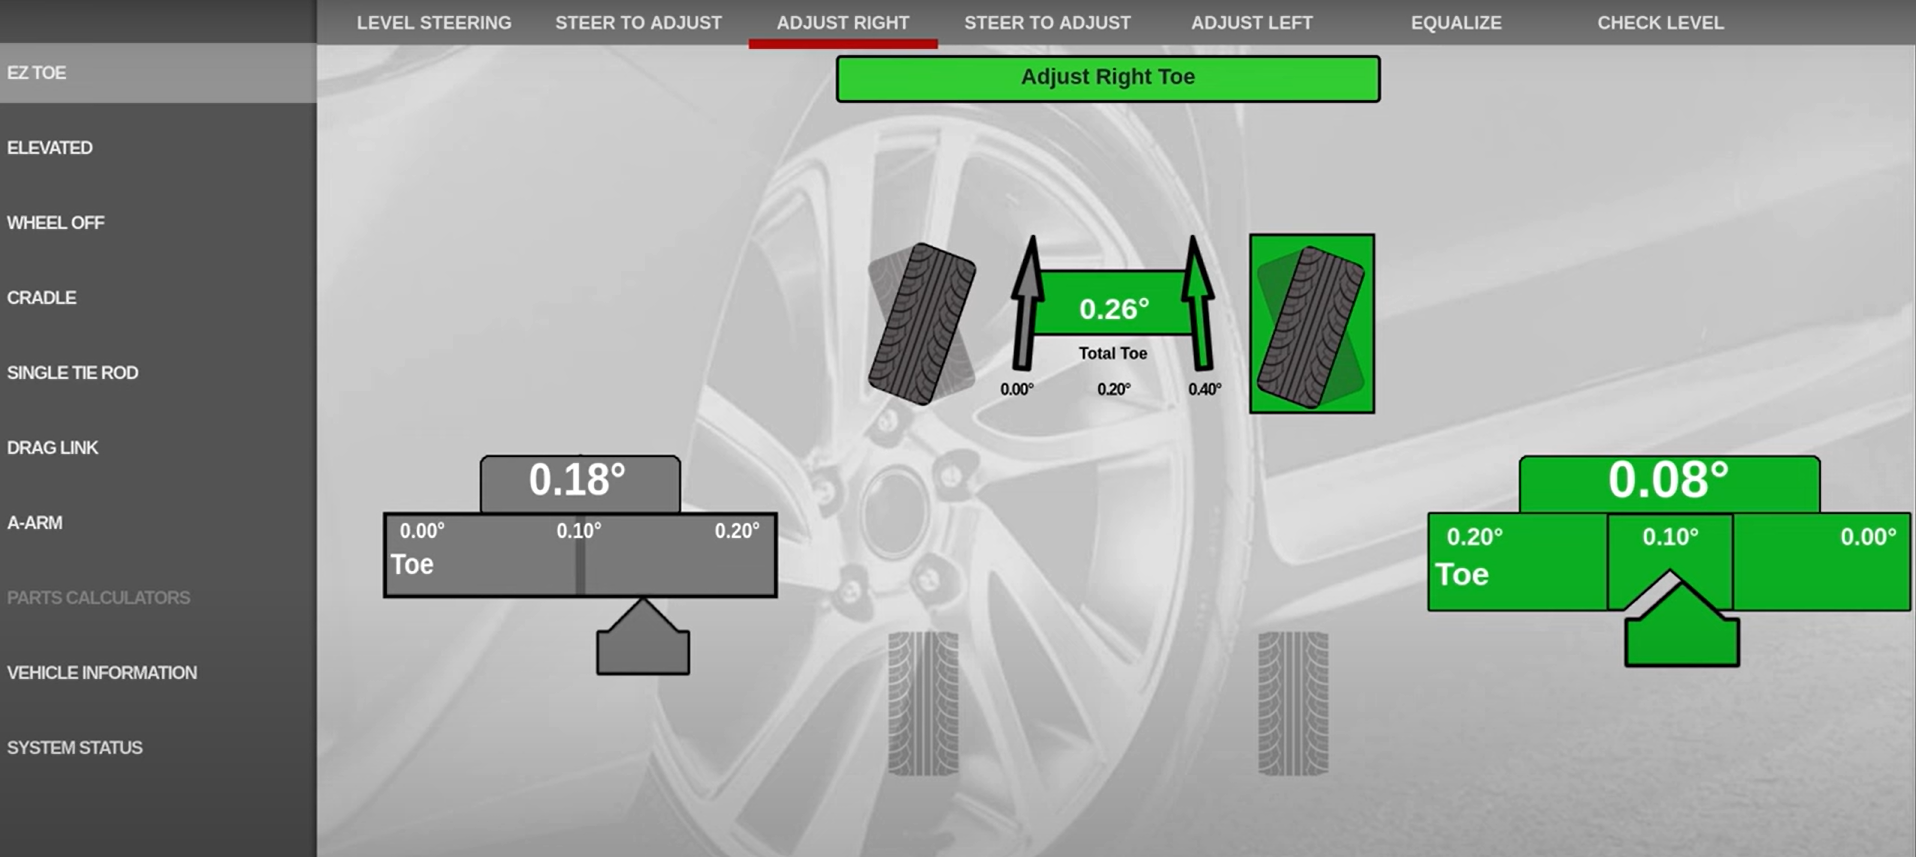
Once all adjustments and checks are complete, you will return to the "All Readings" screen, which summarises the results of your alignment process. Here you’ll do the final toe adjustments, equalise the steering for center.
Additionally, you may need to complete a steering level, or steering reset procedure depending on the vehicle you’re working on.
Conclusion
The John Bean® A-Arm Adjust Feature is an essential procedure for achieving precise vehicle alignment. By following these steps, you can ensure that your vehicle's alignment is adjusted to optimal specifications quickly and efficiently, enhancing both performance, longevity of components and safety.


Check out the video below for a detailed, step-by-step walkthrough of the complete A-ARM Adjust process
*Please be aware that this video was recorded in the USA and demonstrates the A-ARM Adjust Procedure on a 2016 Chevrolet Silverado. The procedure and functionality are comparable for UK and European vehicle models.
Need to upgrade or add Wheel Alignment Equipment to your garage?
Speak to your Local Snap-on® Franchisee or Technical Sales Representative for more information
See More Equipment Focus Content

Wheel alignment plays a pivotal role in automotive maintenance and safety. With this in mind, we have put together a guide to help you understand the advantages of wheel alignment checks. Increase productivity and potentially boost revenue, every single day.
Getting the most out of your Air Conditioning Service Equipment. Explore our quick tip guide to get the most out of your Air Conditioning Service Systems and maximise the return on your investment this year!

©2024 Snap-on Incorporated. All rights reserved.
